Ch1 - 建立專案
On this page
建立專案
用準備好的模板啟一個專案:
Bash
npx create-next-app@latest nextjs-dashboard --use-npm --example "https://github.com/vercel/next-learn/tree/main/dashboard/starter-example"如上面指令,可以看到使用 —example flag,意思是會利用這個準備好的模板來啟專案,並使用基本的 npm 來開發
接著使用以下指令將專案 run 起來:
Bash
cd nextjs-dashboard
npm i
npm run dev
可以在 http://localhost:3000 看到畫面即成功
專案導覽
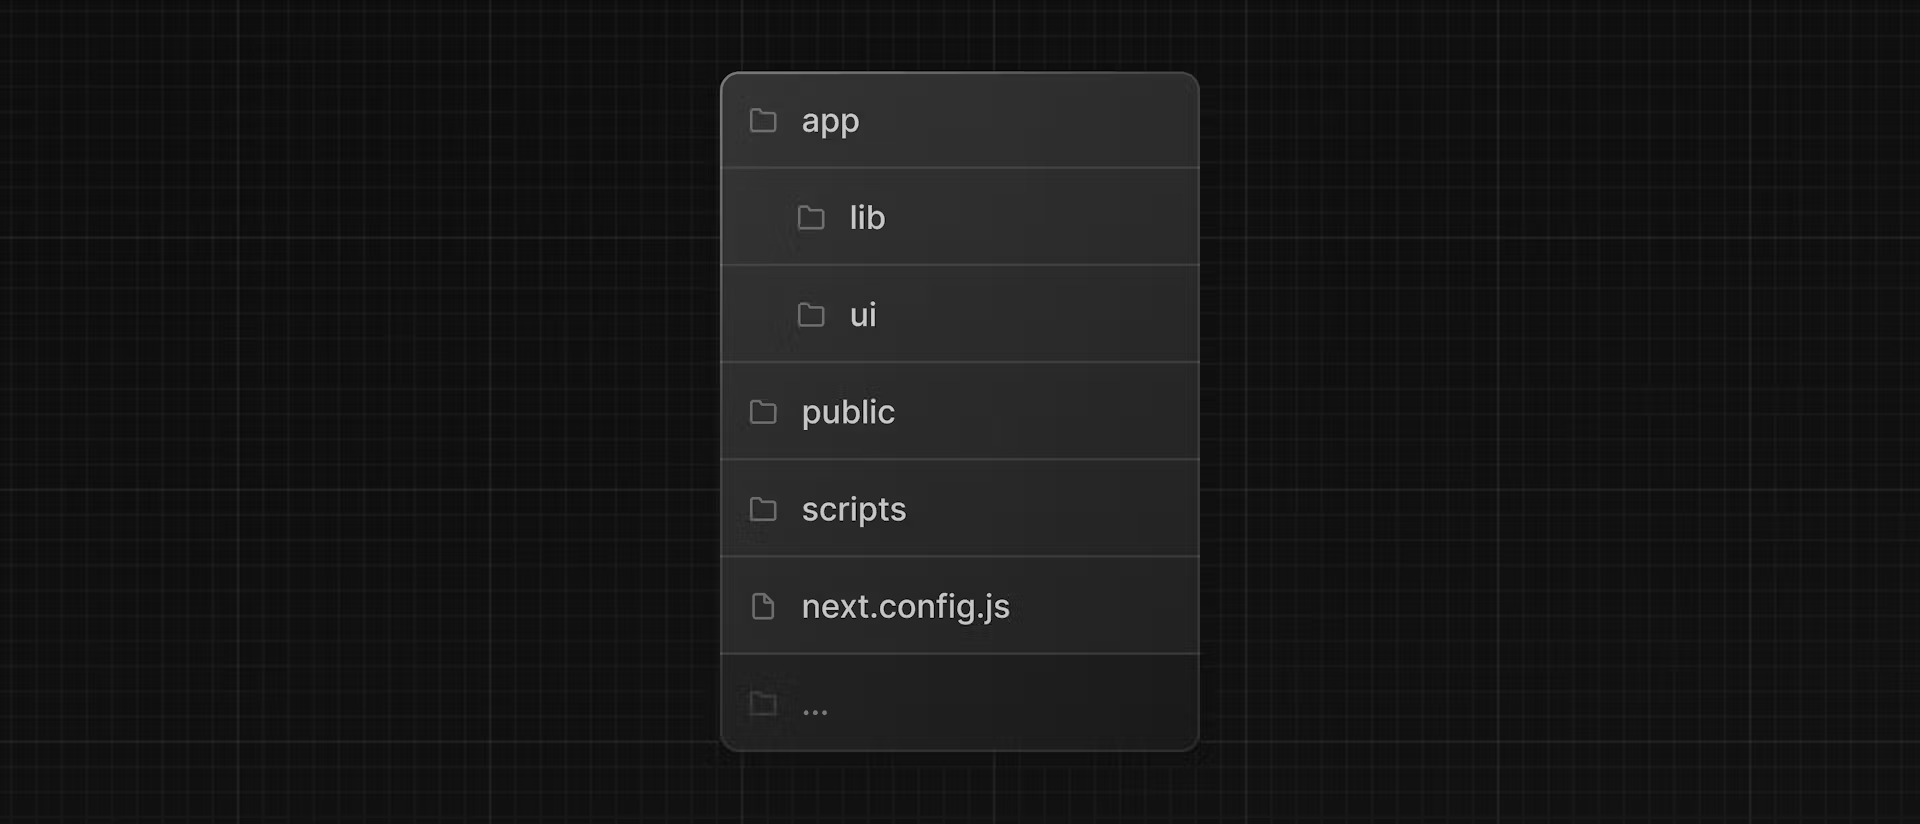
/app:App Router 的檔案系統位置,會包含所有 routes、components、其他邏輯等/public:圖片等靜態資源會放在這/scripts:之後會放建置 DB 的 seeding script- 另外在 API 還沒實作前,模板中也準備好了假資料在
/app/lib/placeholder-data.js中 - 此專案會使用 TypeScript 來開發達到基本型別保護,但如果你對 TS 不熟悉也別擔心,後續章節都會提供相對應的 code snippets,目前型別的定義檔案會放在
/app/lib/definitions.ts - 若你對 TS 是熟悉的話,雖然在此課程中我們會手動宣告資料型別,但為了更好的型別保護,我們推薦使用 Prisma —— 會根據你的 DB schema 來自動產型別
References
Tags
Previous Article
← Ch0 - IntroNext Article
Ch2 - CSS Styling →On this page